16/02/2013
Dead Space 3 blueprint locations guide.
Ok not a cheat but a guide to start with.
Crafting weapons in Dead Space 3 can be awesome, especially
when the game gives you the blueprints to make some kick-ass guns. this guide will tell you where you can find each of the 12
blueprints hidden throughout the game and help you get the most out of your weapons. There aren’t too many blueprints to be found in the first few chapters
however, but as you get further into the game, the more badass the blueprints
are that can be found.
 BLUEPRINT: SHOTGUN [CHAPTER 4]
Once you
reach the Repair Bay at the end of the Crew Access corridor, go through
the door on the left side and you will find the plans to make a shotgun
on the ground next to a corpse.
BLUEPRINT: BOLAS GUN [CHAPTER 8]
When you enter the first
building for the first time by climbing the long ladder and crossing the
cat walk to the left, the blue print will be on a table to the left
side.
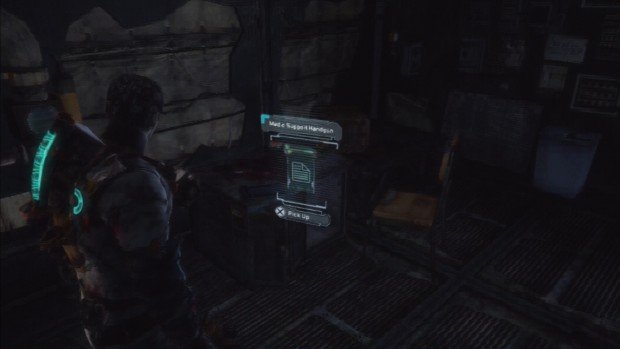
BLUEPRINT: MEDIC SUPPORT HANDGUN [CHAPTER 9]
After you pass
the second pump and climb the ladder, you will come to this blueprint to
the left of the Supply Depot key in the control room.
BLUEPRINT: PULSE RIFLE [CHAPTER 9]
After you fight the nasty
beasty the first time, you will go up a ramp and enter the building.
Once you go through the second door, there will be a ladder on the right
side. Climb up and you can find this to the left side of the room.
BLUEPRINT: HEAVY METAL THUNDER [CHAPTER 9 OPTIONAL MISSION SUPPLY DEPOT]
Once
you exit the Construction office, cross the bridge that you need to
lower and through the door on the left will be a torque door. Use a bar
on it and inside on the floor next to a body will be the blue print.
BLUEPRINT: CONTACT BEAM [CHAPTER 11]
Once you enter the
armory and take the elevator to where you come out with the Raised Hall
label on the floor to the right, go to the left where there are two
lockers and the blueprint will be on the ground there.
BLUEPRINT [CHAPTER 11]
Found during co-op Mission: Archaeology.
BLUEPRINT: HUN-EI BADGER [CHAPTER 13]
At the start of the
mission, go around the side of the first building you come to and you
will find the blueprint on top of a crate.
BLUEPRINT: SEEKER RIFLE [CHAPTER 14]
When you are looking for
the entrance to the lab, you will see a ship come in and Isaac mention
that Danik come back. Continue up to the left and before you hit the
entrance, there will be a snowmobile there with the print on its treads.
BLUEPRINT: HOT DEATH [CHAPTER 14]
When you enter the Geology
Department, and Danik is speaking to you, you will come to a torque
door. Use the Torque bar and just inside the door, you will find this
blueprint on the left side.
BLUEPRINT: SHOWSTOPPER [CHAPTER 14 OPTIONAL MISSION REAPER BARRACKS]
When
you enter the room within the Reaper Barracks where there is a film
projector playing, toss a body or box into the light beam in the far
corner to set off the trap and then open the storage container there to
get this blueprint.
 BLUEPRINT: JAVELIN GUN [CHAPTER 16]
When you are descending
the cliff face and the large beasts start to attack, land on the catwalk
below and destroy them. Once they are dead, continue along the catwalk
to the right and the blueprint will be along the right side under
shelving just after you make the first corner.
I will try and update this blog everyday if you have a request for a cheat or guide please leave a comment. Thanks for viewing :)
www.hypersmash.com